Website intended for professional users with knowledge or professional experience that enable the use of SmartFlags for their intended purpose.

I declare that:

Discover the features
of SmartFlag by APOLLO

A technological breakthrough in full
digital protocol for IOS all-on-x cases

(01.) Idea

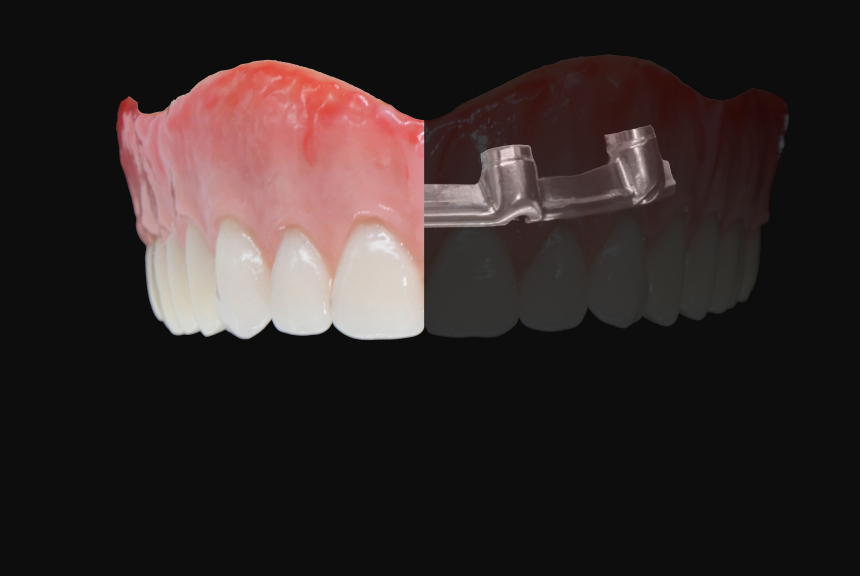
Discover the revolution in the scanning process

See how an intraoral scanning using SmartFlag accurately reflects the situation in the patient's mouth.

With SmartFlags you can do immediate loading up to 48 hours, in a full digital protocol.

(02.) Types of SmartFlags

Available types
of SmartFlag

Multiunit Level

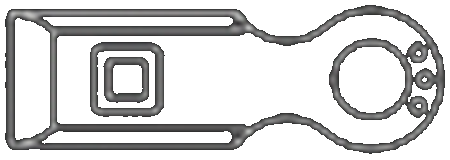
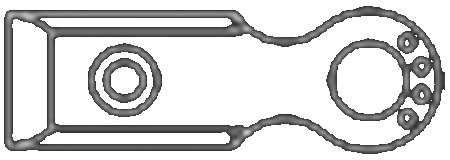
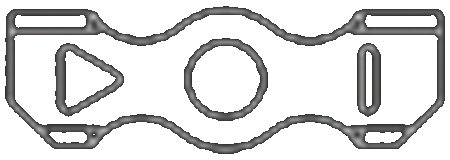
Single-wing

Multiunit Level

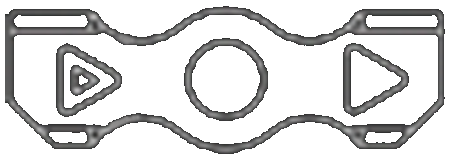
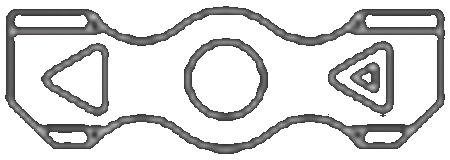
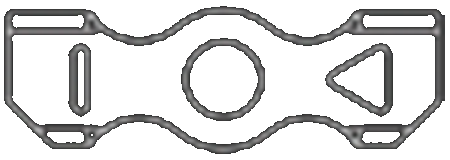
Double-wing

Implant Level

Available soon

SmartFlag Kit

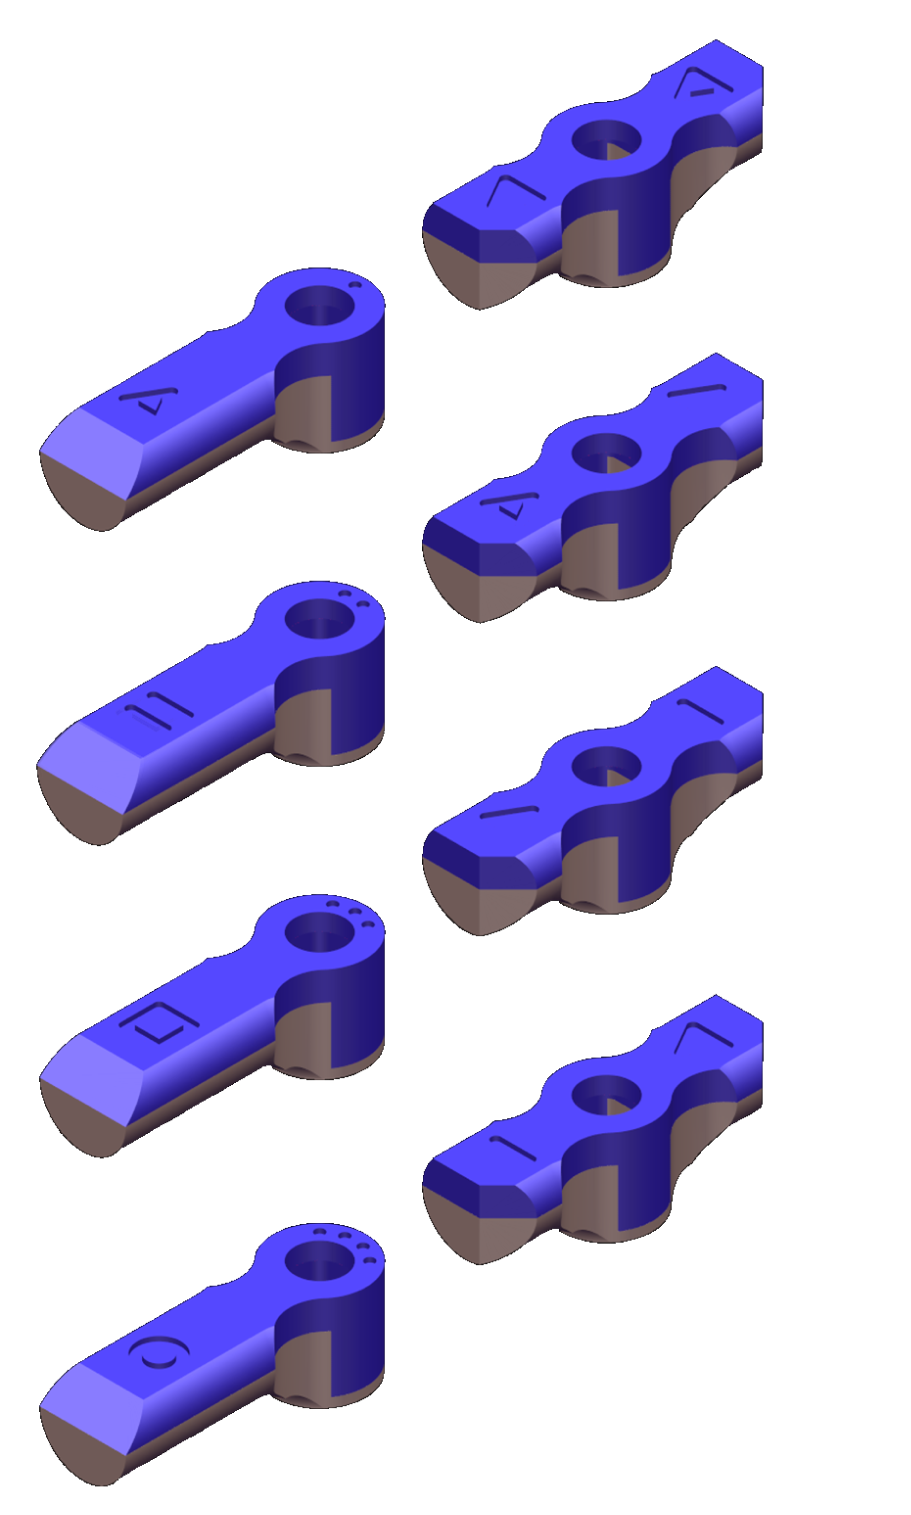
Set includes 8 pieces of Scanbody SmartFlag by APOLLO™ with individual markings:

  • 4 pcs. Single-wing
  • 4 pcs. Double-wing

A

B

C

D

E

F

G

H

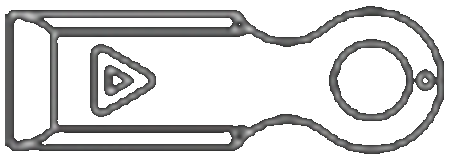
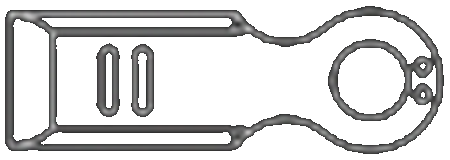
  • letters A, B, C, D for single wing scanbody
  • letters E, F, G, H for double wing scanbody, identifying different types of scanbody for the same system/platform/DIAMETer MU.

(03.) Features

(01.)

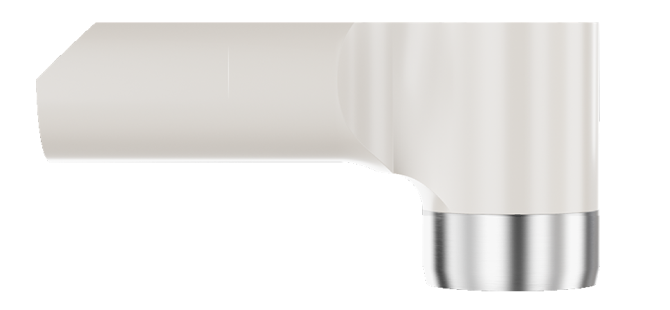
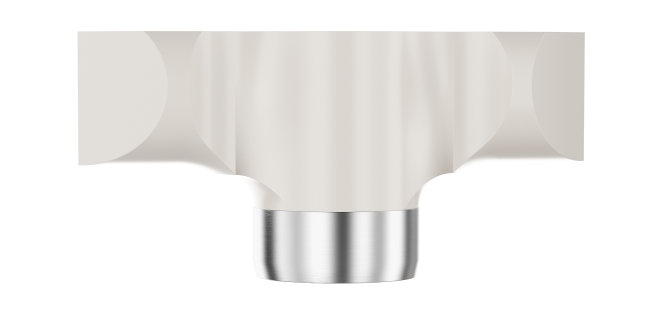
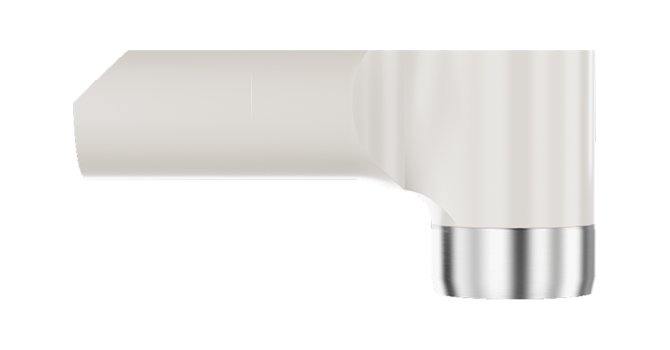
The shape of SmartFlag solids and their two types of 1- or 2-wing allow for optimal filling of spaces between implants.

(02.)

The optimal height of SmartFlag, different for the scanbody from the implant and multi-unit level, facilitates clinical work.

(03.)

Characteristic geometry and large reference area ensures precise matching of CAD libraries.

(04.)

Unique marks on each scanbody allow for a smooth scanning process, without the need to "block" previously scanned scanbodies.

(05.)

Clear markings allow for easy identification of a compatible implant system.

(06.)

Side cuts show the implant axis.

(07.)

The anti-reflective surface of the entire scanbody, provided by the medical polymer PEEK, facilitates the scanning process.

(08.)

Titanium provides a tight connection with the implant.

(09.)

Scanbody durability, up to 100 sterilization cycles, ensured by high quality medical materials

(10.)

Certified medical materials titanium alloy Ti6Al4V ELI (grade 23)

The shape of SmartFlag solids and their two types of 1- or 2-wing allow for optimal filling of spaces between implants.
The optimal height of SmartFlag, different for the scanbody from the implant and multi-unit level, facilitates clinical work.
Characteristic geometry and large reference area ensures precise matching of CAD libraries.
Unique marks on each scanbody allow for a smooth scanning process, without the need to "block" previously scanned scanbodies.
Clear markings allow for easy identification of a compatible implant system.
Side cuts show the implant axis.
The anti-reflective surface of the entire scanbody, provided by the medical polymer PEEK, facilitates the scanning process.
Titanium provides a tight connection with the implant.
Scanbody durability, up to 100 sterilization cycles, ensured by high quality medical materials
Certified medical materials titanium alloy Ti6Al4V ELI (grade 23)

Features

1/10

Still not sure?

Book a demo

(04.) Scanners and scanning

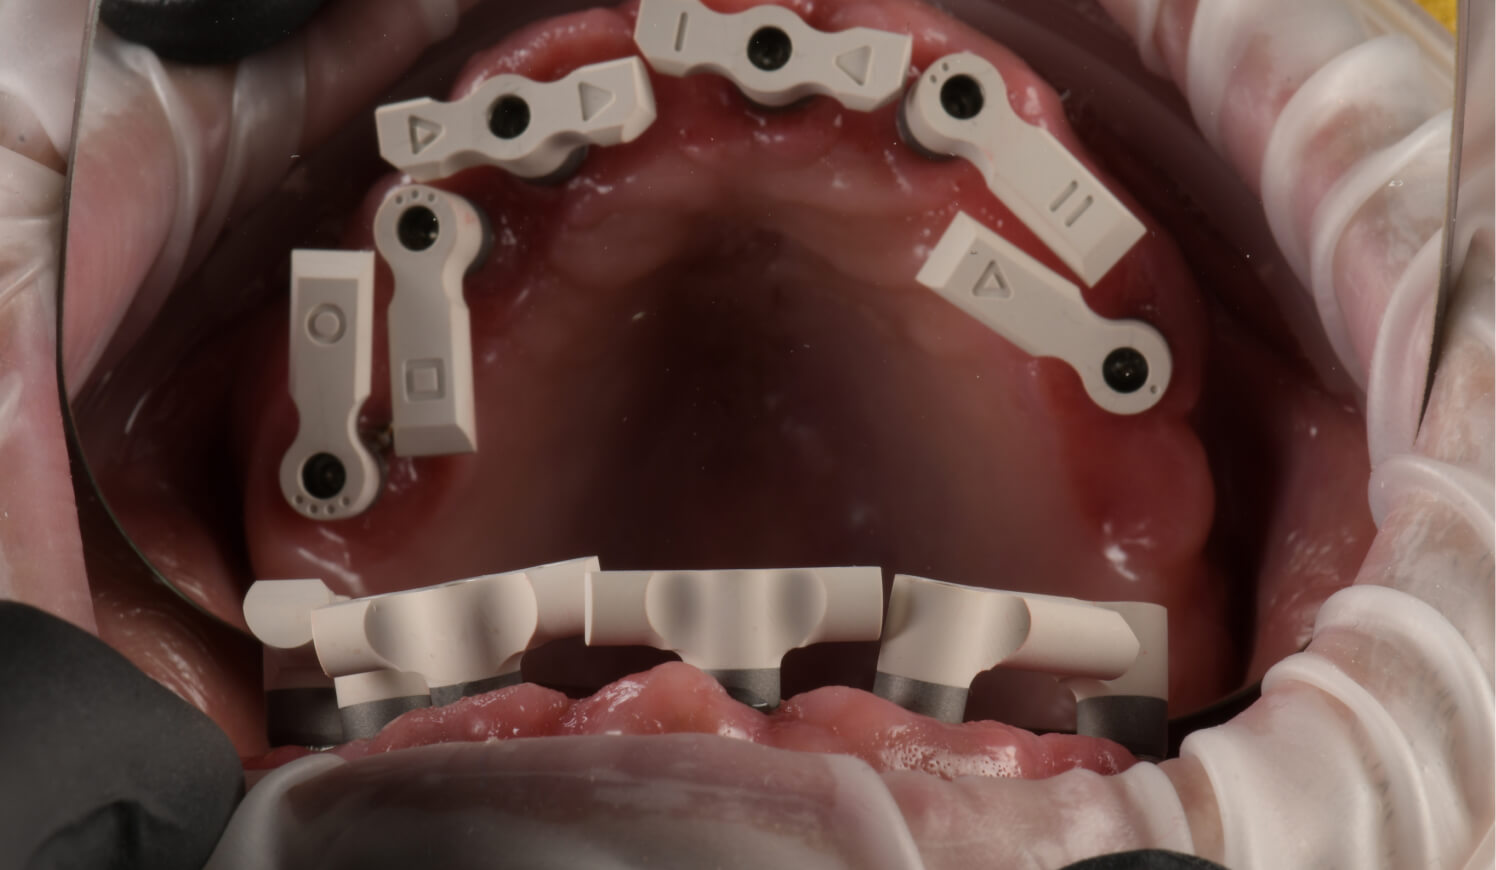
Correct SmartFlag
placement:

From now on, you can use the full capabilities of your scanner for all-on-x implant cases

View user manual
01

Choose the type of SmartFlag depending on the clinical conditions

(1 or 2 wings) – match their type to the space between the implants

02

Always use SmartFlag with different symbols

on a flat reference surface, pay special attention to this when using different implant platforms or different implant systems

03

Place SmartFlag along the appendix

if clinical conditions allow

04

Place SmartFlag so that they do not touch each other

(while maintaining the smallest distance between SmartFlag) – check with dental floss whether the appropriate distances are maintained – the floss should loosely pass between SmartFlag

05

tighten the SmartFlag using a screwdriver

dedicated to the implant system used – screwing force 15 Ncm

06

Do an X-ray picture

to confirm the correct placing of scanbody

Scanner settings

01

use the largest scanner tip available

02

disable scan assist function – artificial intelligence, AI

03

set the greatest scanning depth

04

record scanning proccess eg. via desktop recording

Settings

1/4

SmartFlag
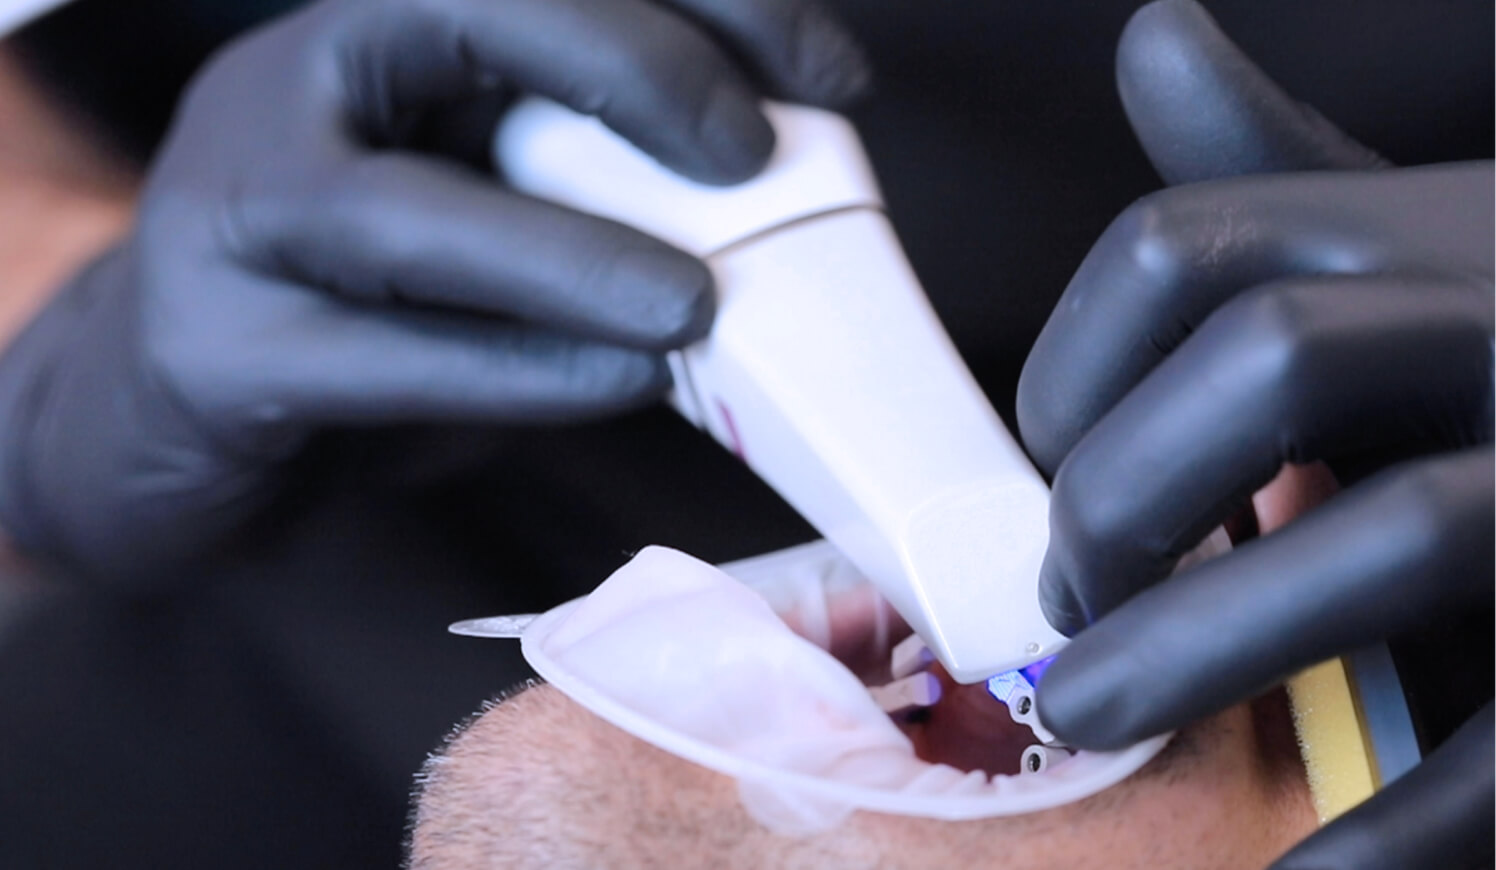
scanning

The unique shape with a large reference surface of the SmartFlag by APOLLO solid, ensures a smooth
scanning process, giving confidence in reproducing the implant position.
View user manual

01

Start with a scan of the full arch with SmartFlag.

Do a smooth motion so that they are all scanned, and return by scanning with a sweeping motion

02

Scanner tip

cannot touch the Smartflag

03

Maintain a balanced scan rate

and do not lose the SmartFlag view from scanner registration field

04

Pay extra attention

when switching from one SmartFlag to another – make sure that the scanner tip covered both SmartFlag in the registration field at the same time

05

If the scanning process is interrupted or stopped

start the process again from the place with the registered characteristic surface.

06

Remember to register all SmartFlag

reference surfaces during the scanning process

07

Send the video

of the scanning process to your laboratory/milling center

Examples of
SmartFlag placement

Digital workflow usable
with 3shape and exocad

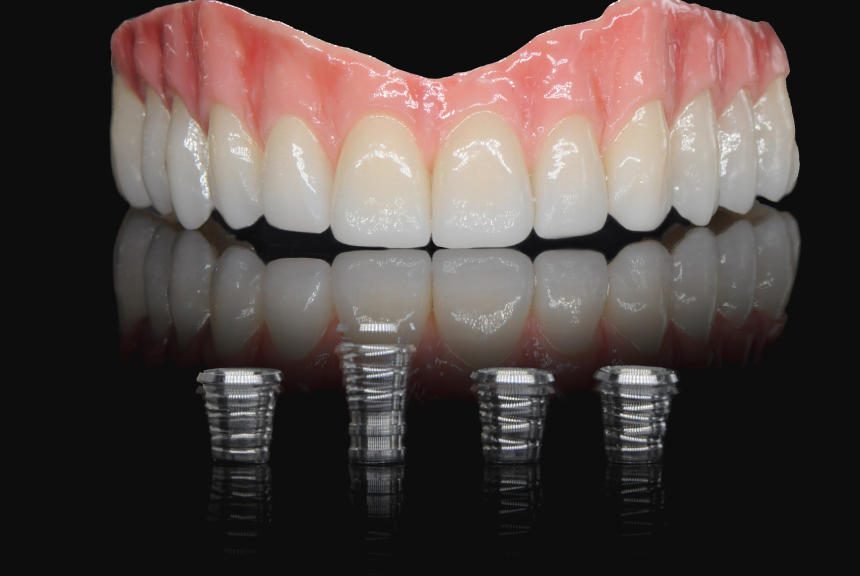
Direct connection / multi titanium base + digital analog included

Direct connection / multi titanium base, Model Creator


Necessary components

Submit order Book a demo

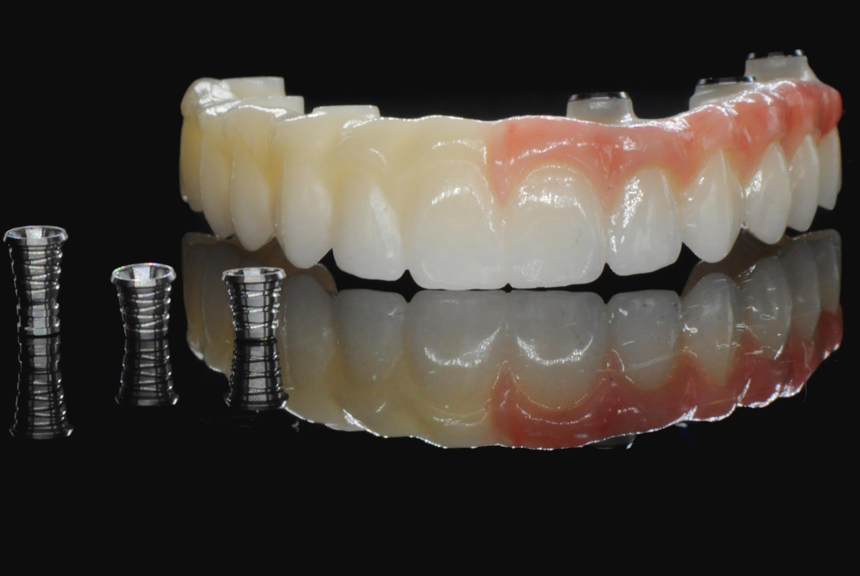
Temporary restoration for immediate loading of implants.

Milled or printed

Case no. 1

Case no. 1

Protocol 01/ If you have a printer or milling machine
in your clinic, and your CAD designer
prepares the design online.

01 / Dentist

Do the intraoral scans using Scanbody SmartFlag and send them to the laboratory.

02 / Technician

Download the library containing Scanbody SmartFlag and Multi Titanium Base. Make sure to use proper library for chosen length S/M/L while using Multi Titanium Base.

03 / Technician

Design the restoration using received scans and downloaded library.

04 / Technician

Send the design to the Dentist.

05 / Dentist

Print or mill the restoration based on the design received from the Technician.

06 / Dentist

Adjust Multi Titanium Base by cutting it to the proper length (S/M/L) adapted to the design and attach them to the restoration.

07 / Dentist

Screw the restoration into the patient’s mouth intraoperatively.

Protocol 02/ If you have a lab in your clinic or
you cooperate with local technician.

01 / Dentist

Do the intraoral scans using Scanbody SmartFlag and send them to the laboratory.

02 / Technician

Download the library containing Scanbody SmartFlag and Multi Titanium Base. Make sure to use proper library for chosen length S/M/L while using Multi Titanium Base.

03 / Technician

Print or mill the restoration based on the prepared design. Adjust Multi Titanium Base by cutting it to proper length (S/M/L) adapted to the design and attach them to the restoration.

04 / Technician

Hand over the final restoration to the Doctor.

05 / Dentist

Collect the case from the technician and screw it into the patient’s mouth intraoperatively.

Protocol

1/2

Required components

Scanbody SmartFlag by APOLLO

Scanbody SmartFlag by APOLLO

Multi Titanium Base

Multi Titanium Base

Multi Titanium Base multiSHIFT36°

Multi Titanium Base multiSHIFT36°

Libraries CAD/CAM

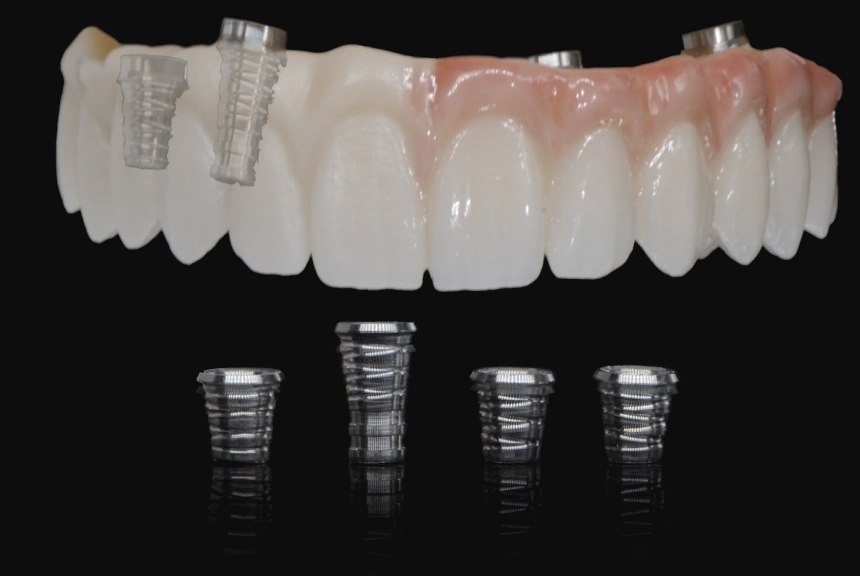
Full-contour structure on multi-unit abutments using Multi Titanium Base.

Materials: PMMA/PEEK/ZrO₂

Case no. 2

Case no. 2

Protocol

01 / Dentist

Do the intraoral scans using Scanbody SmartFlag and send them to the laboratory.

02 / Technician

Download the library containing Scanbody SmartFlag and Multi Titanium Base. Make sure to use proper library for chosen length S/M/L while using Multi Titanium Base.

03 / Technician

Mill the structure by yourself or in a milling centre recommended by APOLLO (try-in is recommended before the final restoration).

04 / Technician

Adjust Multi Titanium Base by cutting it to proper length (S/M/L) adapted to the design.

05 / Technician

Complete the prosthetic work on the structure according to the dentist’s order.

06 / Technician

Attach the adjusted Multi Titanium Base to the restoration and hand it over to the dentist.

07 / Dentist

Collect the restoration from the technician and screw it into the patient’s mouth.

Required components

Scanbody SmartFlag by APOLLO

Scanbody SmartFlag by APOLLO

Multi Titanium Base

Multi Titanium Base

Multi Titanium Base multiSHIFT36°

Multi Titanium Base multiSHIFT36°

One Lock Digital Analog - Jeśli chcesz użyć modelu do protokołu

One Lock Digital Analog - in case of using printed model

Libraries CAD/CAM

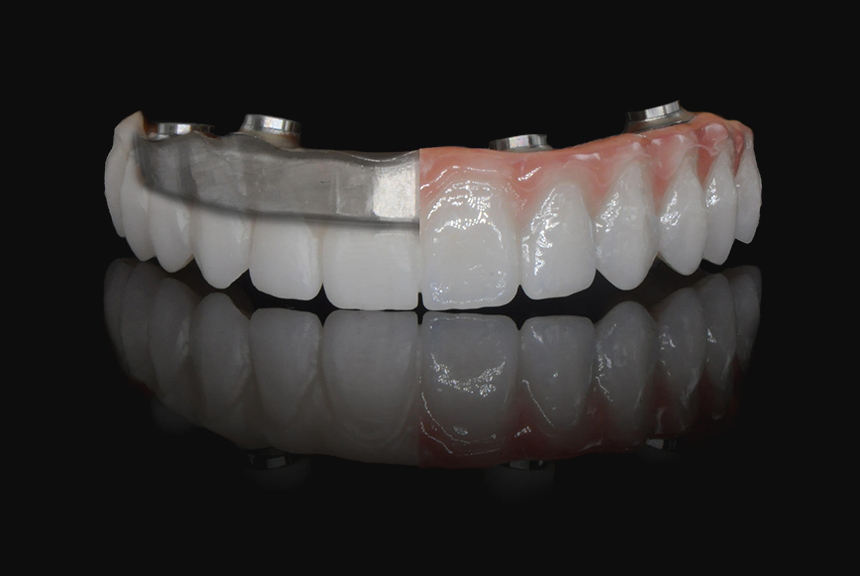
Full-contour structure from within multi-unit abutments on titanium bar.

Materials: PMMA/PEEK/ZrO₂

Case no. 3

Case no. 3

Protocol

01 / Dentist

Do the intraoral scans using Scanbody SmartFlag and send them to the laboratory.

02 / Technician

Download the library for Scanbody SmartFlag by APOLLO and design the case using received scans.

03 / Technician

Design the structure: titanium and full-contour part at the same time (try in is recommended before final restoration).

04 / Technician

Mill the structure by yourself or in a milling centre recommended by APOLLO.

05 / Technician

Complete the prosthetic work on the structure according to the dentist’s order and hand it over to the doctor’s office.

06 / Dentist

Collect the restoration from the technician and screw it into the patient's mouth.

Required components

Scanbody SmartFlag by APOLLO

Scanbody SmartFlag by APOLLO

One Lock Digital Analog - Jeśli chcesz użyć modelu do protokołu

One Lock Digital Analog - in case of using printed model

Libraries CAD/CAM

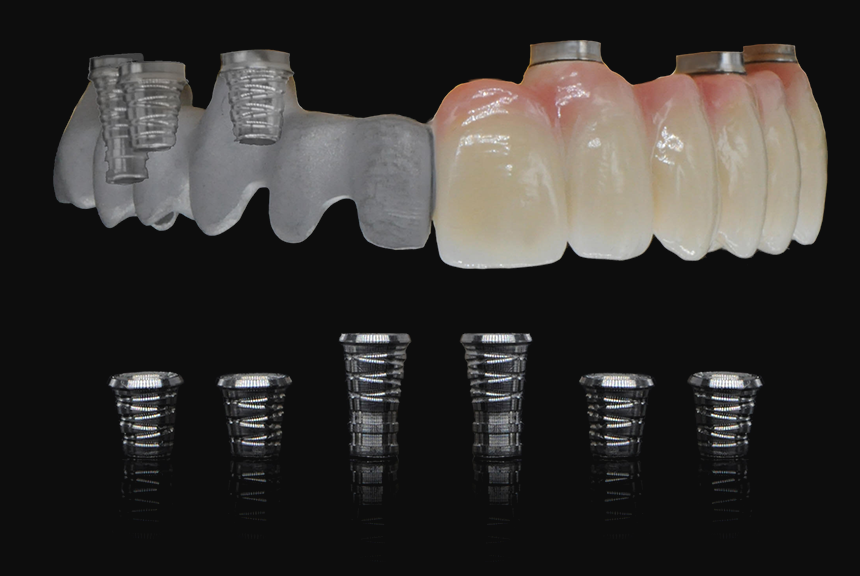
Structure for veneering on multi-unit abutments with the usage of Multi Titanium Base/Multi Titanium Base multiSHIFT36°.

Materials: Ti/CoCr/PEEK/ZrO₂
Facing materials: acrylic/composite/ceramics

Case no. 4

Case no. 4

Protocol

01 / Dentist

Do the intraoral scans using Scanbody SmartFlag and send them to the laboratory.

02 / Technician

Download the library containing Scanbody SmartFlag, Multi Titanium Base / Multi Titanium Base MultiShift 36 and One Lock Digital Analog. Make sure to use proper library for chosen length S/M/L while using Multi Titanium Base.

03 / Technician

Design the structure using received scans and downloaded library.

04 / Technician

Mill the structure by yourself or in a milling centre recommended by APOLLO (try-in is recommended before the final work).

05 / Technician

Adjust Multi Titanium Base by cutting it to proper length (S/M/L) adapted to the design.

06 / Technician

Design a digital model using library for One Lock Digital Analog and print it.

06 / A

Place the One Lock Digital Analog in the model using a dedicated tightening screwdriver.

07 / Technician

Complete the prosthetic work on the structure according to the dentist’s order.

08 / Technician

Attach the adjusted Multi Titanium Base to the restoration and hand it over to the dentist.

09 / Dentist

Collect the restoration from the technician and screw it into the patient’s mouth.

Required components

Scanbody SmartFlag by APOLLO

Scanbody SmartFlag by APOLLO

Multi Titanium Base

Multi Titanium Base

Multi Titanium Base multiSHIFT36°

Multi Titanium Base multiSHIFT36°

One Lock Digital Analog - Jeśli chcesz użyć modelu do protokołu

One Lock Digital Analog - in case of using printed model

Libraries CAD/CAM

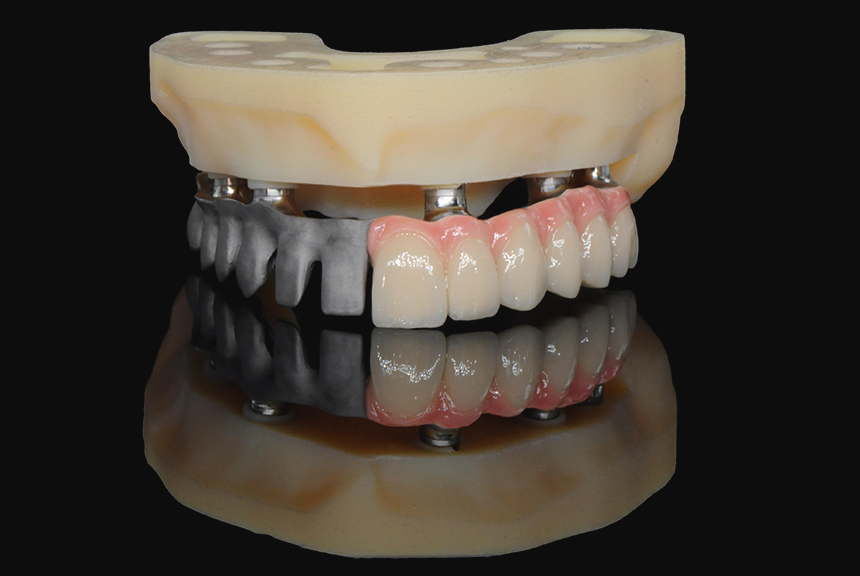
Structure for veneering from within multi-unit abutments on titanium bar.

Materials: Ti/CoCr/PEEK/ZrO₂
Facing materials: acrylic/composite/ceramics

Case no. 5

Case no. 5

Protocol

01 / Dentist

Do the intraoral scans using Scanbody SmartFlag and send them to the laboratory.

02 / Technician

Download the library containing Scanbody SmartFlag and One Lock Digital Analog.

03 / Technician

Design the case using received scans and downloaded library.

04 / Technician

Mill the structure by yourself or in a milling centre recommended by APOLLO ( try-in is recommended before final restoration).

05 / Technician

Design a digital model using One Lock Digital Analog library and print it.

05 / A

Place the One Lock Digital Analog in the model using a dedicated tightening screwdriver.

06 / Technician

Complete the prosthetic work on the structure according to the dentist’s order and hand it over to the doctor’s office.

07 / Dentist

Collect the final restoration from the technician and screw it into the patient's mouth.

Required components

Scanbody SmartFlag by APOLLO

Scanbody SmartFlag by APOLLO

One Lock Digital Analog - Jeśli chcesz użyć modelu do protokołu

One Lock Digital Analog - in case of using printed model

Libraries CAD/CAM

Retention bar for removable restoration on multi-unit abutments.

Materials: Ti

Case no. 6

Case no. 6

Protocol

01 / Dentist

Do the intraoral scans using Scanbody SmartFlag and send them to the laboratory.

02 / Technician

Download library for Scanbody SmartFlag by APOLLO and use it to design the bar (try in is recommended before final restoration).

03 / Technician

Mill the bar by yourself or in the milling centre recommended by APOLLO, and deliver the bar to the doctor’s office.

04 / Dentist

Collect the bar from the technician and screw it into the patient's mouth.

05 / Dentist

Complete the protocol in digital or analog way.

Required components

Scanbody SmartFlag by APOLLO

Scanbody SmartFlag by APOLLO

One Lock Digital Analog - Jeśli chcesz użyć modelu do protokołu

One Lock Digital Analog - in case of using printed model

Libraries CAD/CAM

Retention bar for removable restoration using Multi Titanium Base.

Materials: Ti/Zr

Case no. 7

Case no. 7

Protocol

01 / Dentist

Do the intraoral scans using Scanbody SmartFlag and send them to the laboratory.

02 / Technician

Download library for Scanbody SmartFlag by APOLLO and Multi Titanium Base / Multi Titanium Base Multishift 36°. Make sure to use proper library for chosen length S/M/L while using Multi Titanium Base.

03 / Technician

Design the bar based on received scans and downloaded library (try-in is recommended before final restoration).

04 / Technician

Mill the bar by yourself or in a milling center recommended by APOLLO.

05 / Technician

Adjust Multi Titanium Base by cutting it to proper length (S/M/L) adapted to the design and attach it to the bar.

06 / Technician

Hand over the bar to the dentist.

07 / Dentist

Collect the bar from the technician and screw it into the patient's mouth.

08 / Dentist

Complete the protocol in digital or analog way.

Required components

Scanbody SmartFlag by APOLLO

Scanbody SmartFlag by APOLLO

Multi Titanium Base

Multi Titanium Base

Multi Titanium Base multiSHIFT36°

Multi Titanium Base multiSHIFT36°

One Lock Digital Analog - Jeśli chcesz użyć modelu do protokołu

One Lock Digital Analog - in case of using printed model

Libraries CAD/CAM

    Scanbody SmartFlag by APOLLO

    Scanbody SmartFlag

    8 pieces including screw

    Choose the implant system

    Quantity

    Price

    1349 €

    Multi Titanium Base

    Multi Titanium Base

    Titanium base including screw

    Choose the implant system

    Quantity

    Price

    49 €

    Multi Titanium Base Multishift 36°

    Multi Titanium Base multiSHIFT36°

    Titanium base with angulated screw channel up to 36° including screw

    Choose the implant system

    Quantity

    Price

    72 €

    One Lock Digital Analog - Jeśli chcesz użyć modelu do protokołu

    One Lock Digital Analog

    Digital analog

    Choose the implant system

    Quantity

    Price

    38 €

    Śrubokręt APOLLO multiSHIFT36°

    multiSHIFT36° Screwdriver

    Screwdriver for angulated screw channel up to 36°

    Length

    Quantity

    Price

    56 €

    Śrubokręt do One Lock Digital Analog

    Handle for screwdriver

    Handle manufactured by APOLLO compatible with e.g. multiSHIFT36° screwdriver

    Quantity

    Price

    56 €

    Śrubokręt do One Lock Digital Analog

    One Lock Digital Analog Screwdriver

    Screwdriver for digital analog

    Quantity

    Price

    21 €

    Śruba kliniczna do Multi Titanium Base

    Clinical Screw Muli-unit

    Choose the implant system

    Quantity

    Price

    17 €

    Śruba laboratoryjna do Multi Titanium Base

    Laboratory Screw Muli-unit

    Choose the implant system

    Quantity

    Price

    17 €

    Śruba kliniczna do przekierowań kąta do 36° do Multi Titanium Base multiSHIFT36°

    Clinical Screw Muli-unit multiSHIFT36°

    Choose the implant system

    Quantity

    Price

    21 €

    Śruba laboratoryjnado przekierowań kąta do 36° do Multi Titanium Base multiSHIFT36°

    Laboratory Screw Muli-unit multiSHIFT36°

    Choose the implant system

    Quantity

    Price

    21 €

    Scanbody Multi-unit

    Scanbody Multi-unit

    Scanbody with an anti-reflex surface adapted to work with laboratory scanners. It includes an integrated screw that facilitates working.

    Wybierz system implantologiczny

    Quantity

    Price

    55 €

    Delivery

     60 €

    ALL PRICES DO NOT INCLUDE TAX

    Billing data

    Shipping data

    TOTAL: 0