Website intended for professional users with knowledge or professional experience that enable the use of SmartFlags for their intended purpose.
I declare that:
Website intended for professional users with knowledge or professional experience that enable the use of SmartFlags for their intended purpose.
I declare that:
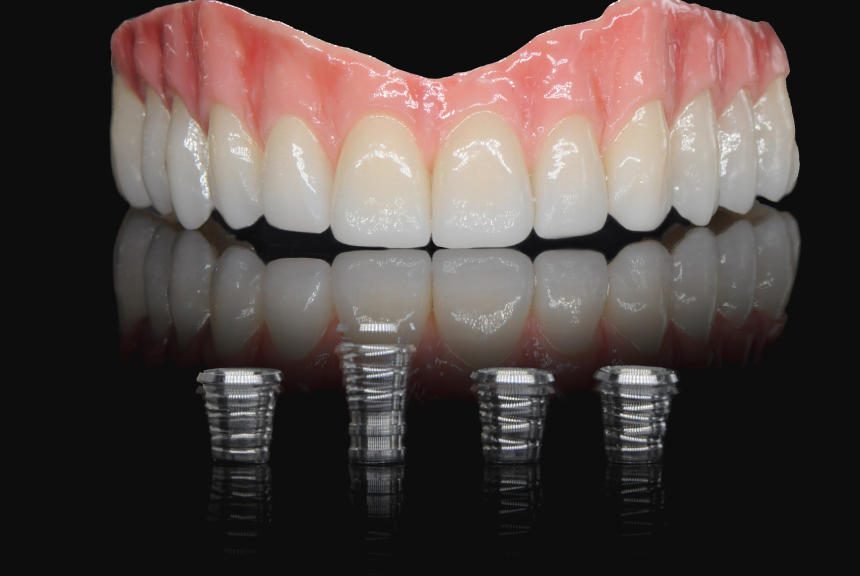
A technological breakthrough in full
digital protocol for IOS all-on-x cases
(01.) Idea
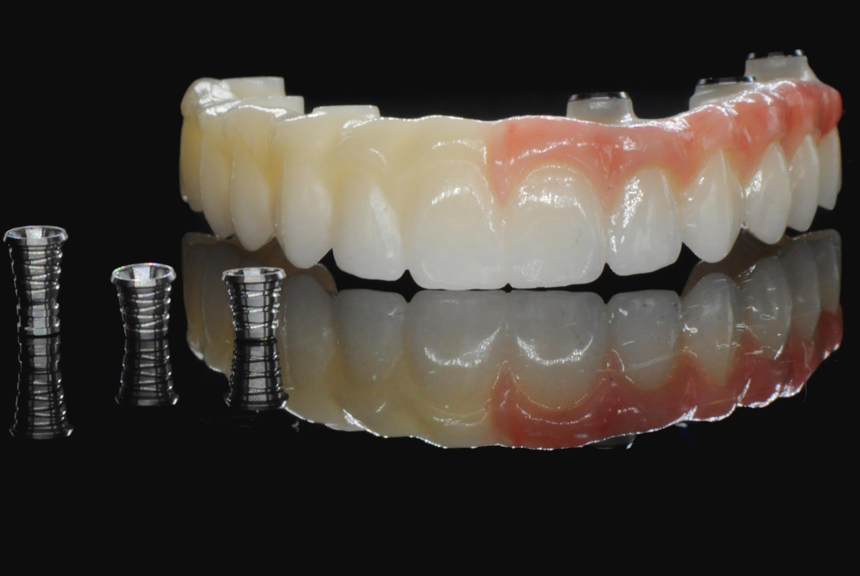
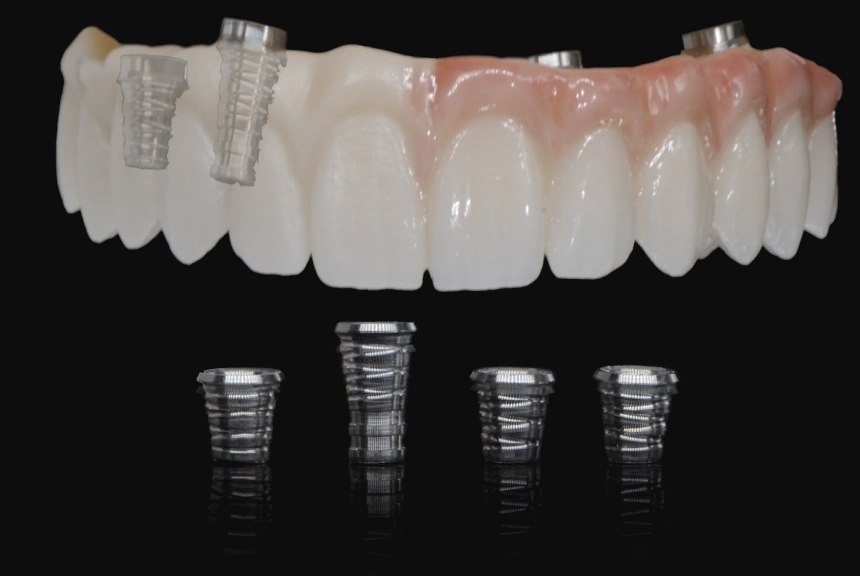
See how an intraoral scanning using SmartFlag accurately reflects the situation in the patient's mouth.
(02.) Types of SmartFlags
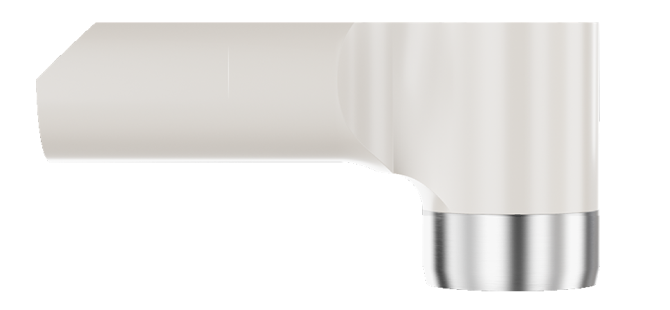
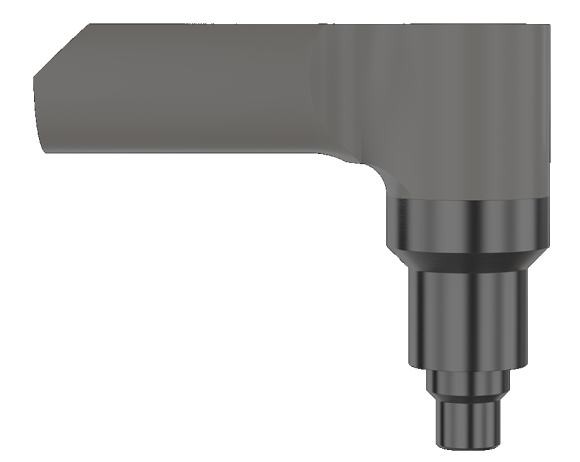
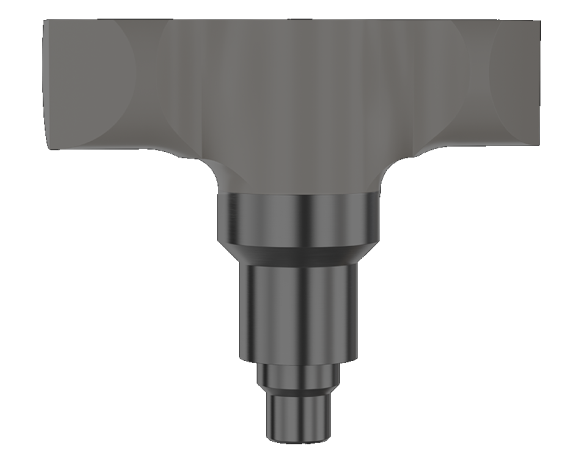
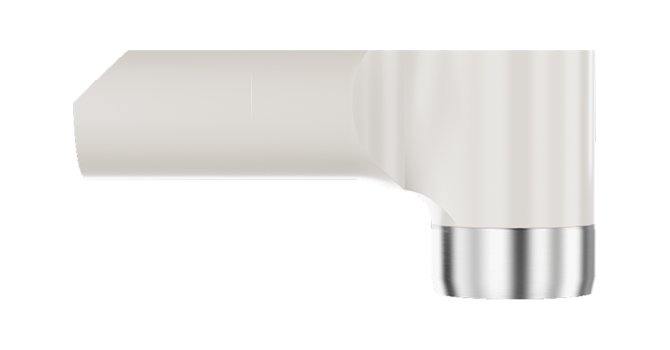
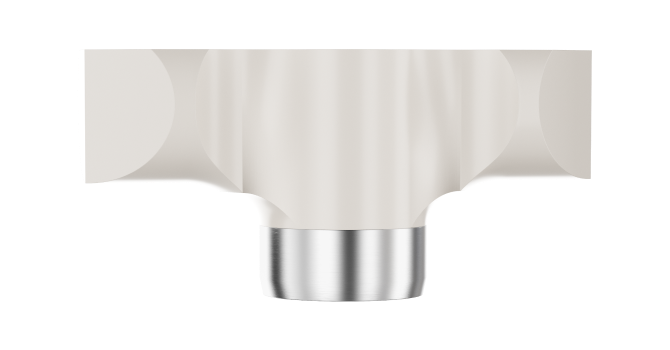
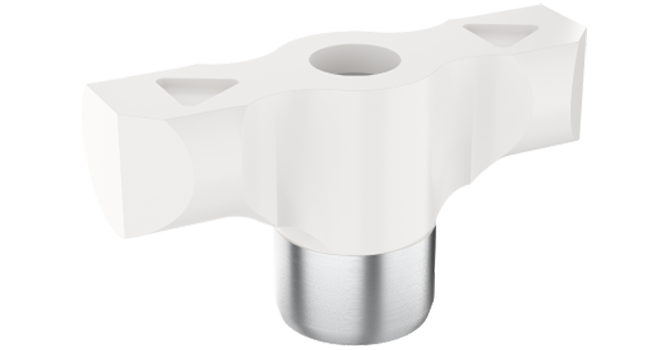
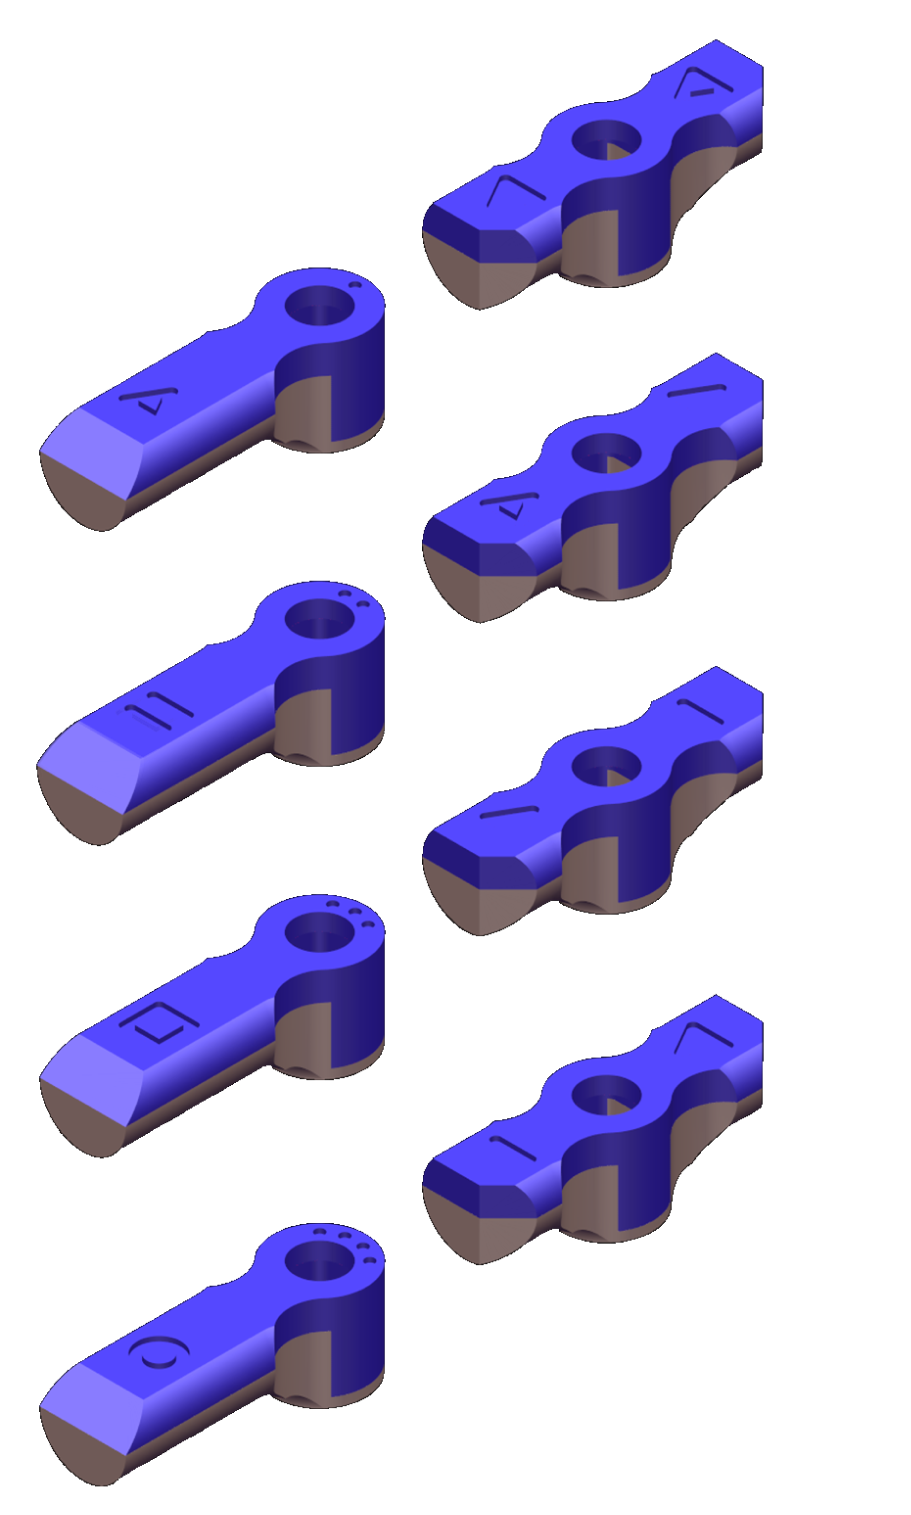
Multiunit Level
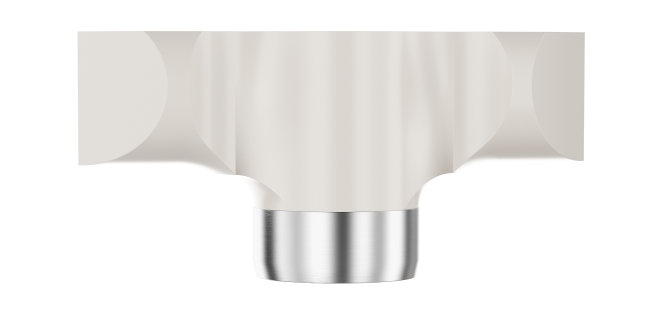
Multiunit Level
Implant Level
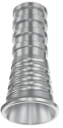
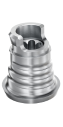
Available soonSet includes 8 pieces of Scanbody SmartFlag by APOLLO® with individual markings:

A

B

C

D

E

F

G

H
(03.) Features
(01.)
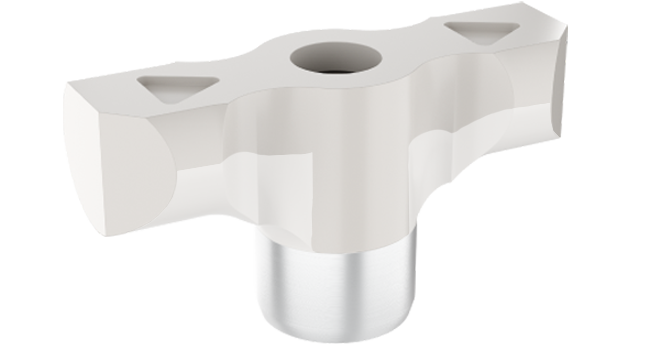
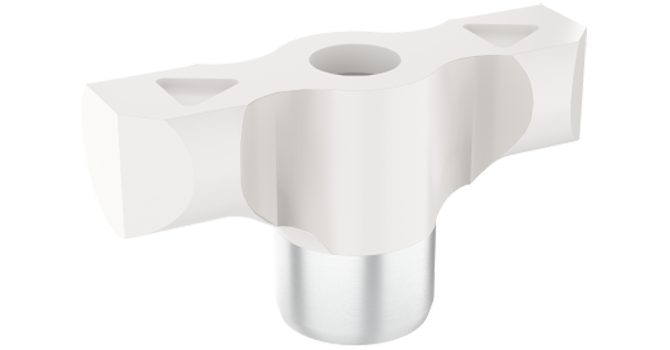
The shape of SmartFlag solids and their two types of 1- or 2-wing allow for optimal filling of spaces between implants.
(02.)
The optimal height of SmartFlag, different for the scanbody from the implant and multi-unit level, facilitates clinical work.
(03.)
Characteristic geometry and large reference area ensures precise matching of CAD libraries.
(04.)
Unique marks on each scanbody allow for a smooth scanning process, without the need to "block" previously scanned scanbodies.
(05.)
Clear markings allow for easy identification of a compatible implant system.
(06.)
Side cuts show the implant axis.
(07.)
The anti-reflective surface of the entire scanbody, provided by the medical polymer PEEK, facilitates the scanning process.
(08.)
Titanium provides a tight connection with the implant.
(09.)
Scanbody durability, up to 100 sterilization cycles, ensured by high quality medical materials
(10.)
Certified medical materials titanium alloy Ti6Al4V ELI


Features
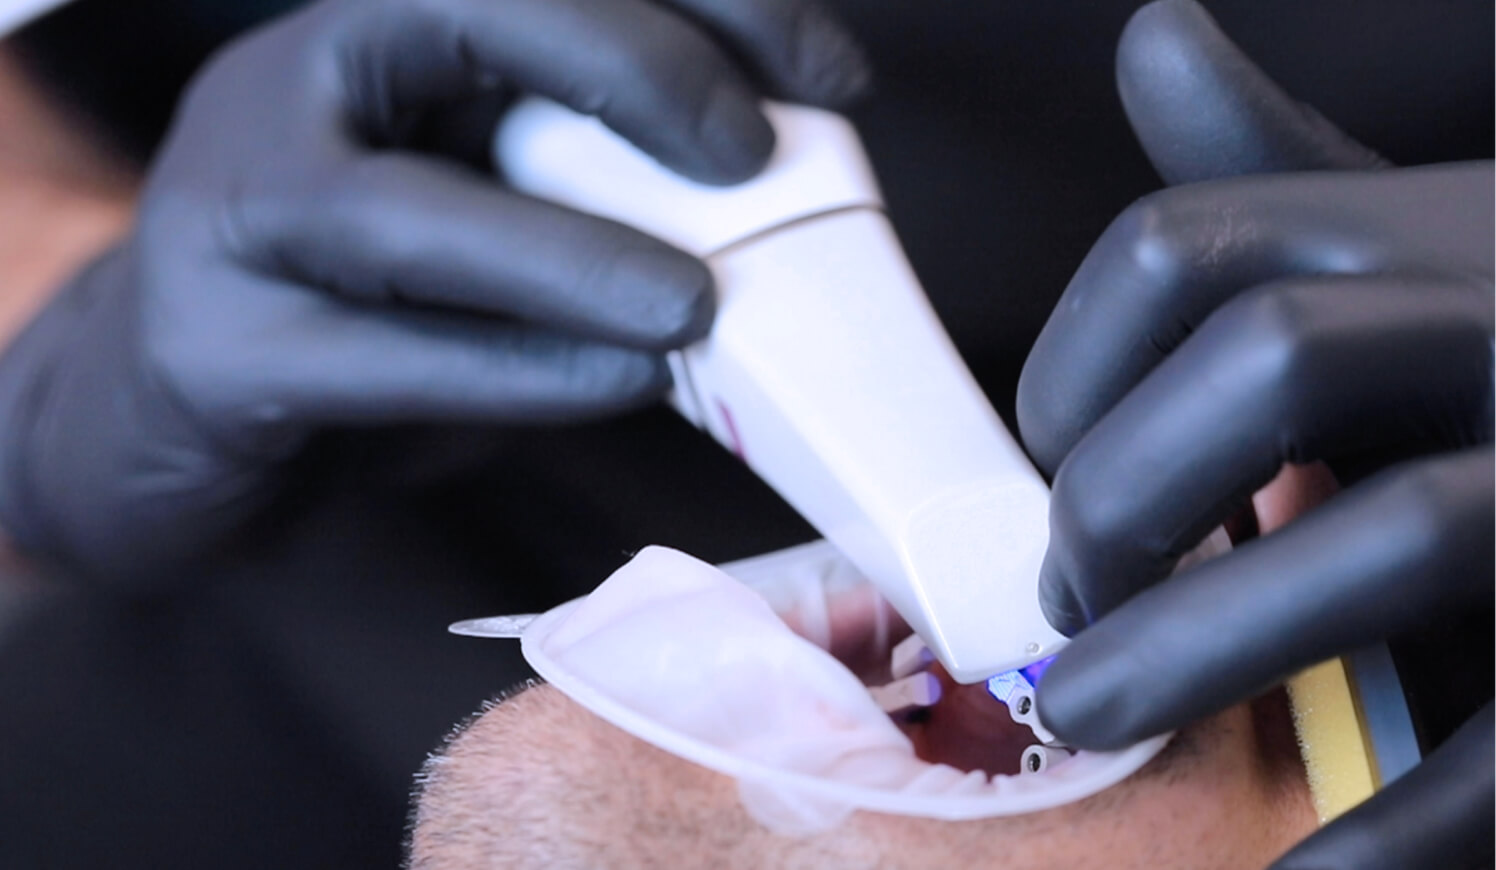
(04.) Scanners and scanning
From now on, you can use the full capabilities of your scanner for all-on-x implant cases
View user manual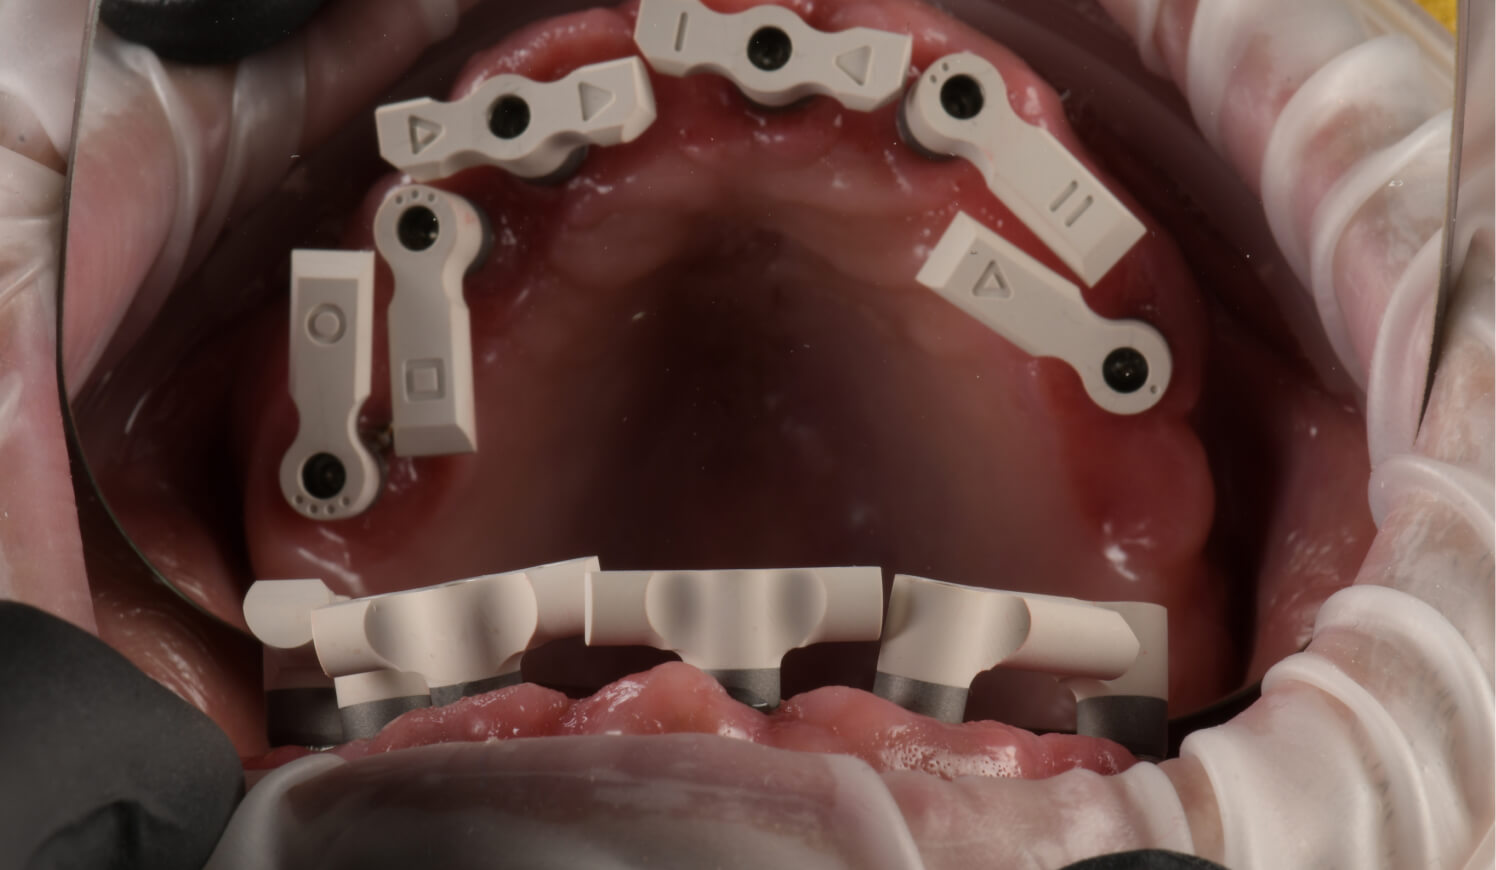
01
(1 or 2 wings) – match their type to the space between the implants
02
on a flat reference surface, pay special attention to this when using different implant platforms or different implant systems
03
if clinical conditions allow
04
(while maintaining the smallest distance between SmartFlag) – check with dental floss whether the appropriate distances are maintained – the floss should loosely pass between SmartFlag
05
dedicated to the implant system used – screwing force 15 Ncm
06
to confirm the correct placing of scanbody
Settings
The unique shape with a large reference surface of the SmartFlag by APOLLO solid, ensures a smooth
scanning process, giving confidence in reproducing the implant position.
01
Do a smooth motion so that they are all scanned, and return by scanning with a sweeping motion
02
cannot touch the Smartflag
03
and do not lose the SmartFlag view from scanner registration field
04
when switching from one SmartFlag to another – make sure that the scanner tip covered both SmartFlag in the registration field at the same time
05
start the process again from the place with the registered characteristic surface.
06
reference surfaces during the scanning process
07
of the scanning process to your laboratory/milling center

KEN O’BRIEN
Chief Commercial Officer
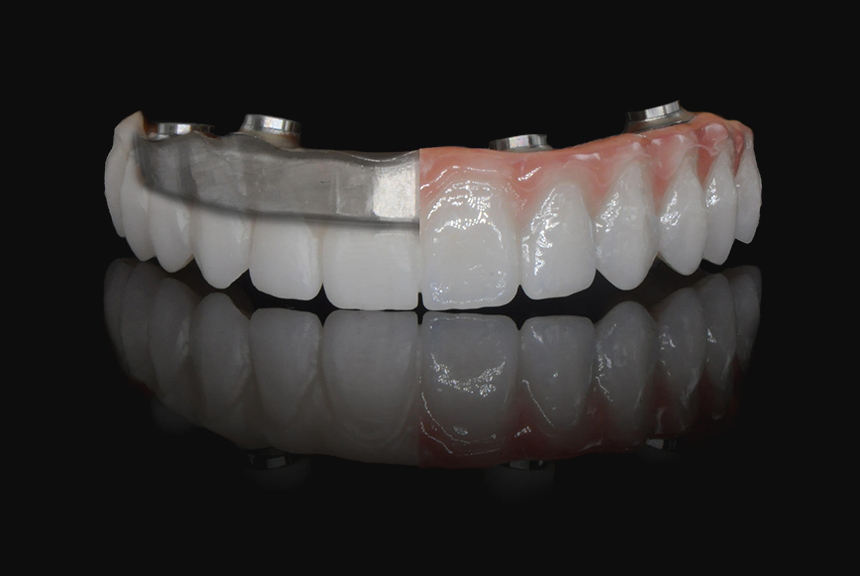
Case no. 1
Protocol
Required components

Scanbody SmartFlag by APOLLO
Multi Titanium Base
Multi Titanium Base multiSHIFT36°
CAD/CAM Libraries
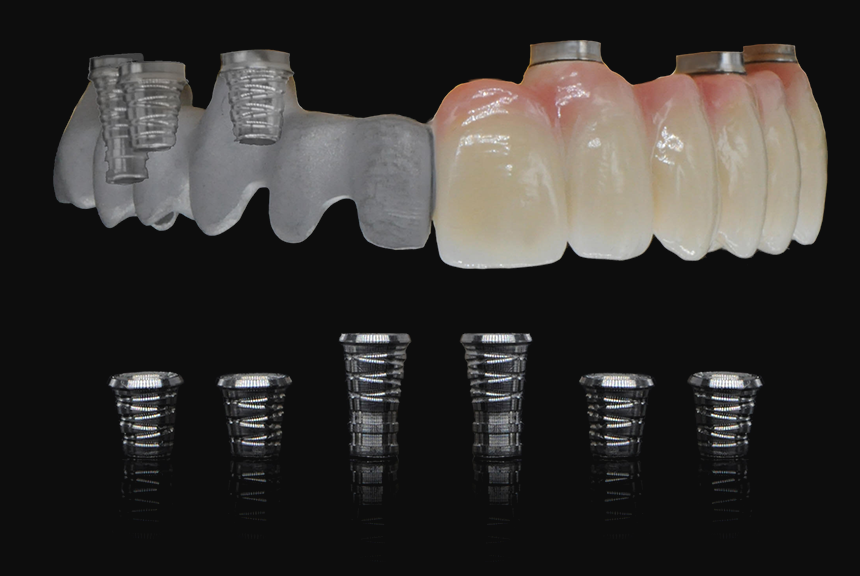
Case no. 2
Required components
Scanbody SmartFlag by APOLLO
Multi Titanium Base
Multi Titanium Base multiSHIFT36°
One Lock Digital Analog - in case of using printed model
CAD/CAM Libraries
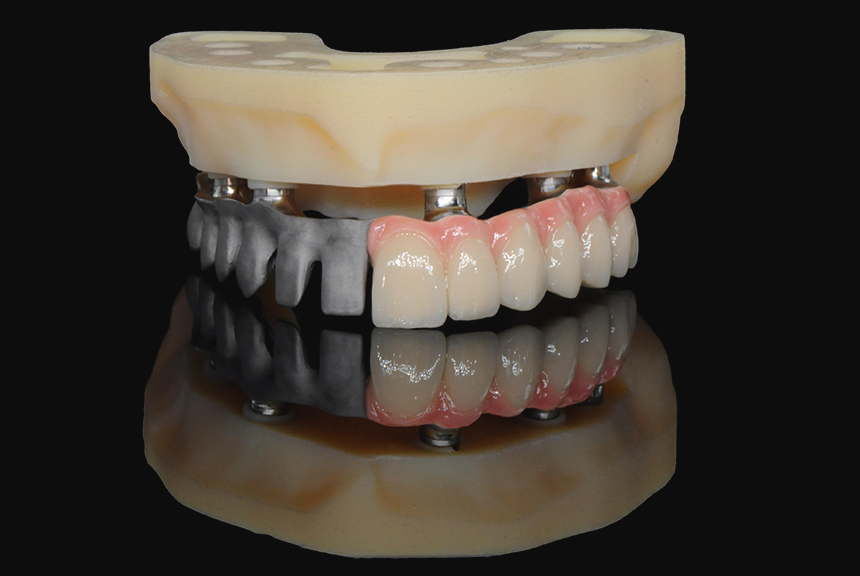
Case no. 3
Required components
Scanbody SmartFlag by APOLLO
One Lock Digital Analog - in case of using printed model
CAD/CAM Libraries
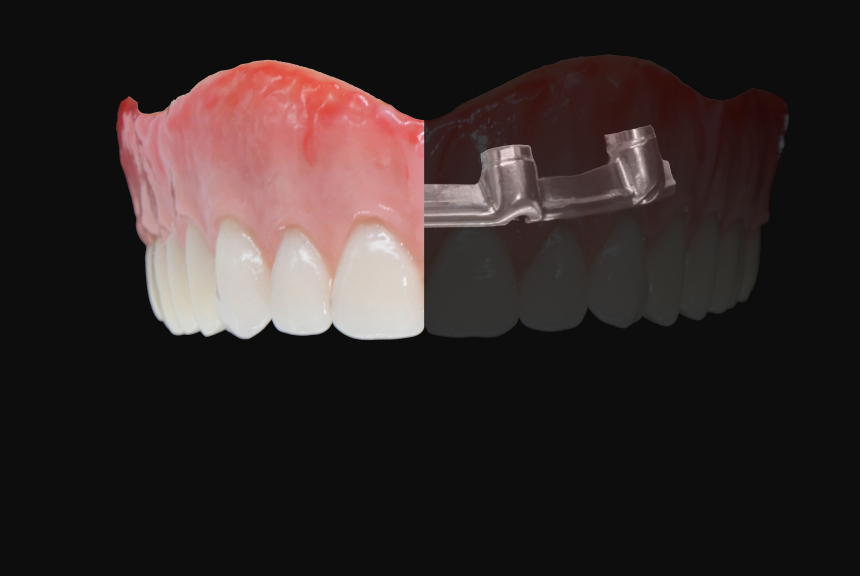
Case no. 4
Required components
Scanbody SmartFlag by APOLLO
Multi Titanium Base
Multi Titanium Base multiSHIFT36°
One Lock Digital Analog - in case of using printed model
CAD/CAM Libraries
Case no. 5
Required components
Scanbody SmartFlag by APOLLO
One Lock Digital Analog - in case of using printed model
CAD/CAM Libraries
Case no. 6
Required components
Scanbody SmartFlag by APOLLO
One Lock Digital Analog - in case of using printed model
CAD/CAM Libraries
Case no. 7
Required components
Scanbody SmartFlag by APOLLO
Multi Titanium Base
Multi Titanium Base multiSHIFT36°
One Lock Digital Analog - in case of using printed model
CAD/CAM Libraries