Website intended for professional users with knowledge or professional experience that enable the use of SmartFlags for their intended purpose.
I declare that:
Website intended for professional users with knowledge or professional experience that enable the use of SmartFlags for their intended purpose.
I declare that:
for the most popular intraoral scanners and cases
01
02
General rules for scanning the SmartFlag
03
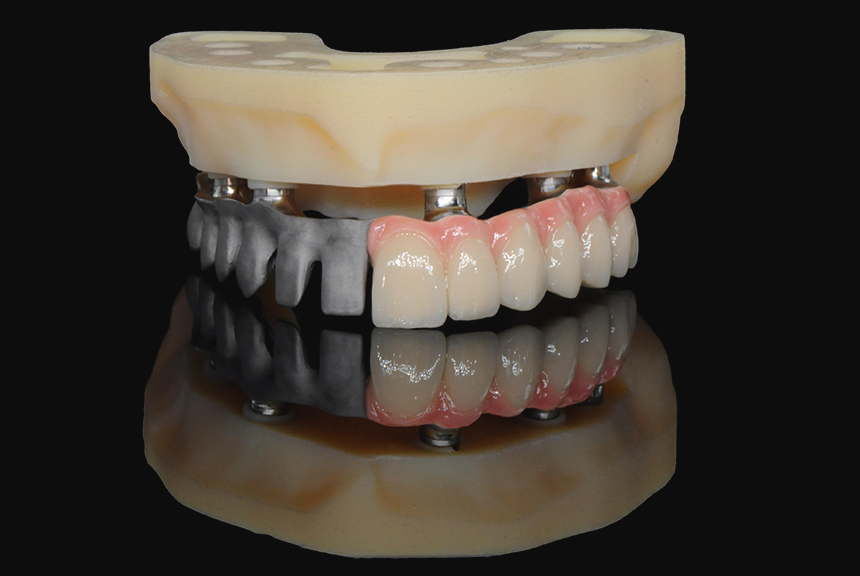
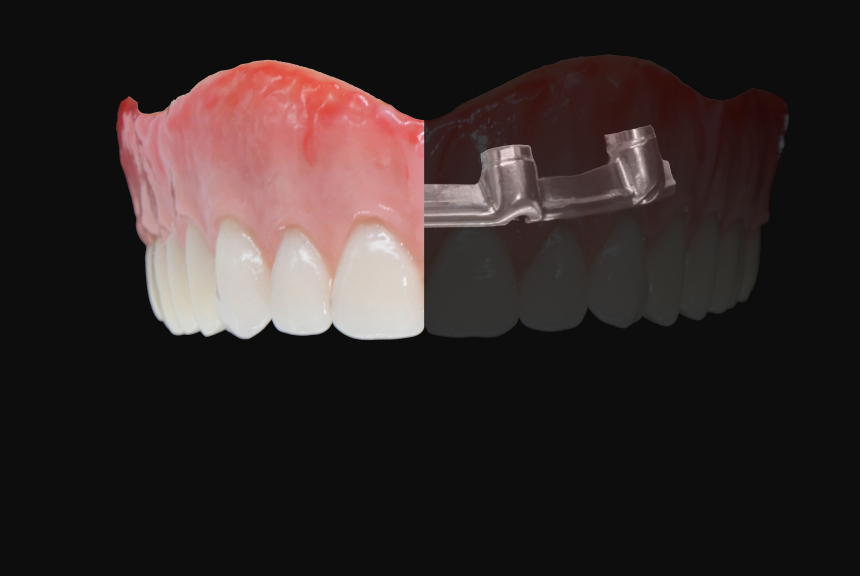
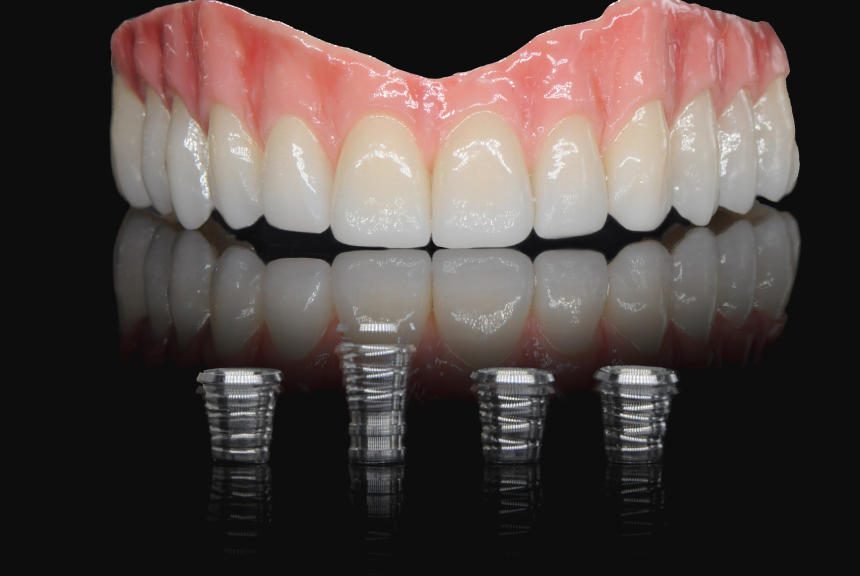
Using SmarFlags with a patient wearing a full denture
04
General rules for scanning the SmartFlag
05
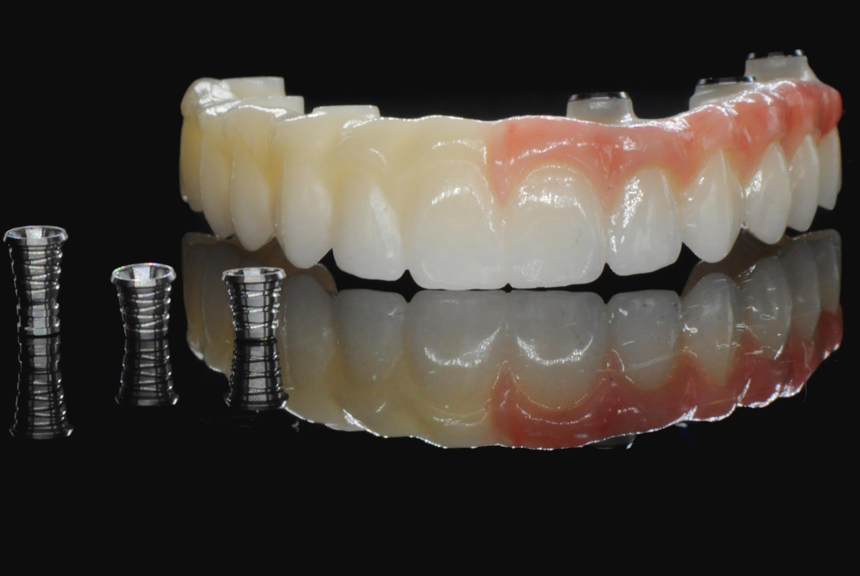
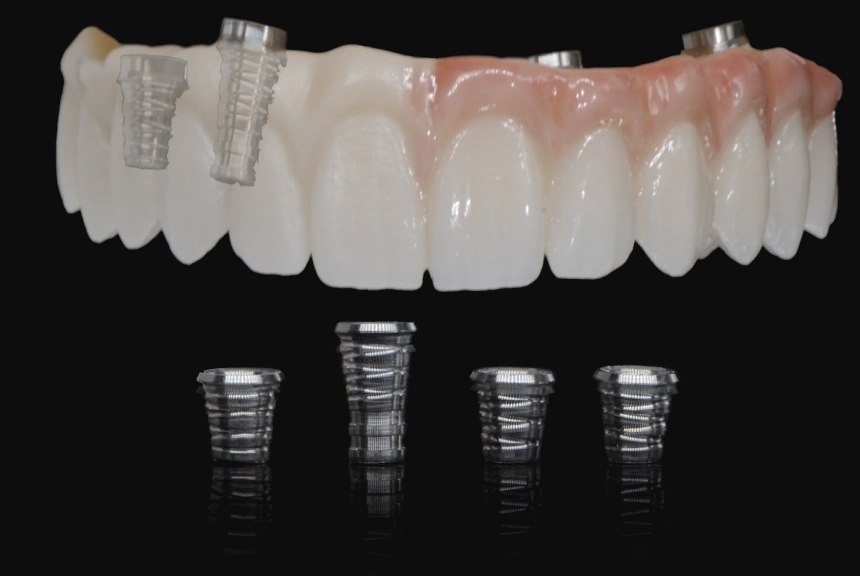
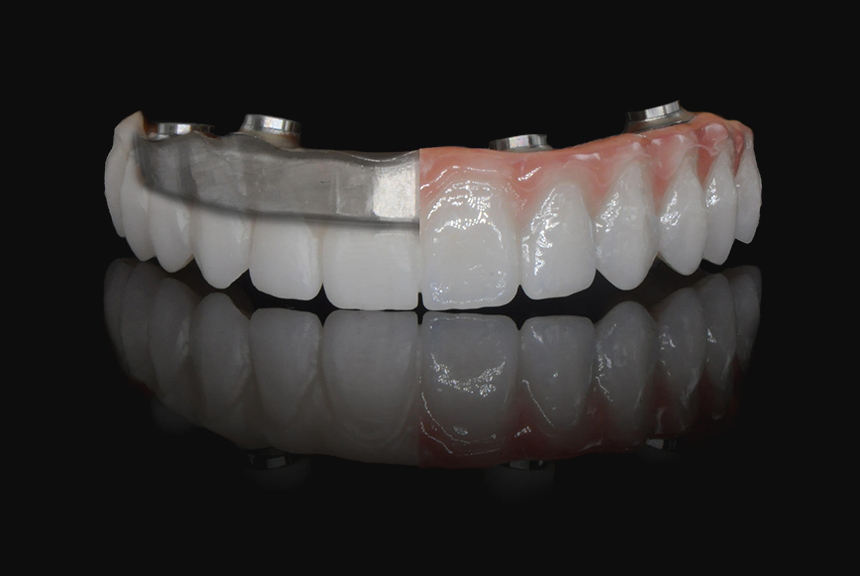
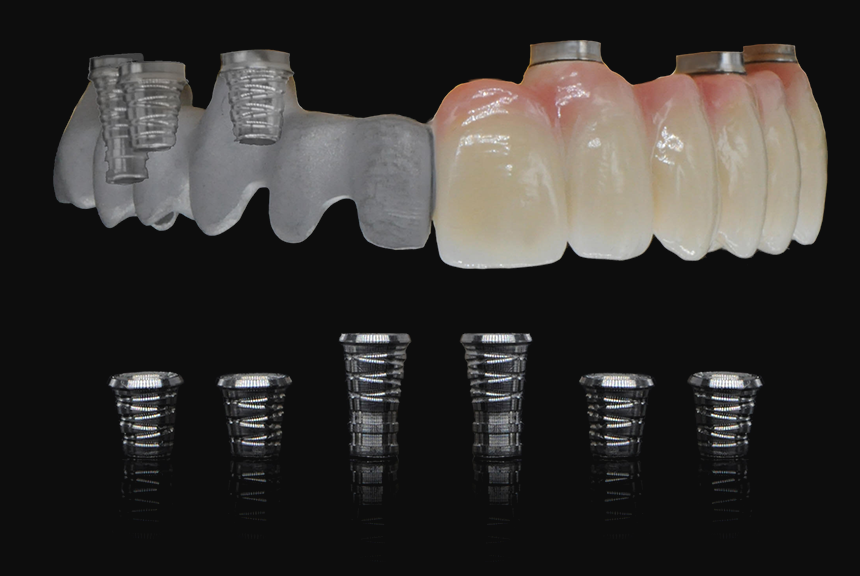
Using SmarFlags with Patient wearing screw retained temporary bridge
06
General rules for scanning the SmartFlag
07
Using SmarFlags with Patient wearing screw retained temporary bridge
08
Using SmarFlags with a patient wearing a full denture
09
Using SmarFlags with Patient wearing screw retained temporary bridge
10
Using SmarFlags with Patient wearing screw retained temporary bridge
11
12

KEN O’BRIEN
Chief Commercial Officer
Case no. 1
Protocol
Required components

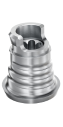
Scanbody SmartFlag by APOLLO

Multi Titanium Base
Multi Titanium Base multiSHIFT36°
CAD/CAM Libraries
Case no. 2
Required components
Scanbody SmartFlag by APOLLO
Multi Titanium Base
Multi Titanium Base multiSHIFT36°
One Lock Digital Analog - in case of using printed model
CAD/CAM Libraries
Case no. 3
Required components
Scanbody SmartFlag by APOLLO
One Lock Digital Analog - in case of using printed model
CAD/CAM Libraries
Case no. 4
Required components
Scanbody SmartFlag by APOLLO
Multi Titanium Base
Multi Titanium Base multiSHIFT36°
One Lock Digital Analog - in case of using printed model
CAD/CAM Libraries
Case no. 5
Required components
Scanbody SmartFlag by APOLLO
One Lock Digital Analog - in case of using printed model
CAD/CAM Libraries
Case no. 6
Required components
Scanbody SmartFlag by APOLLO
One Lock Digital Analog - in case of using printed model
CAD/CAM Libraries
Case no. 7
Required components
Scanbody SmartFlag by APOLLO
Multi Titanium Base
Multi Titanium Base multiSHIFT36°
One Lock Digital Analog - in case of using printed model
CAD/CAM Libraries